How to Clean Fluval 407 Filter
The Fluval 407 is a seriously powerful filter. Knowing how to clean fluval 407 filter is just as important as keeping your tank clean. The 407 has the ability to clean even the most grungy and murky water, and provided it is set up properly and full of good media, filter it to near perfection. It does cost a a pretty penny, near $200 USD, but for the power and reliability, it can’t be beat.
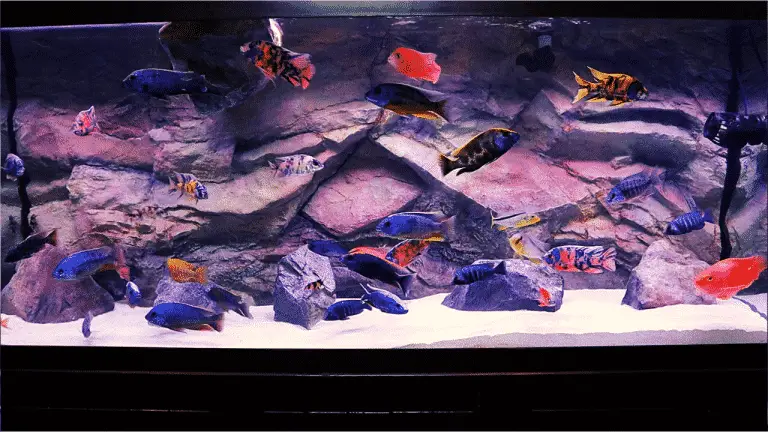
The 407 has the ability to filter between 145 gallons and 383 gallons an hour! This rating makes the 407 an excellent choice for any aquarium between 50 and 100 gallons. These canisters can be used on tanks stocked with exceptionally messy eaters like African Cichlids or even species that are notorious for rapid waste buildup like Goldfish.
With that being said, canister filters work a little differently than what you may be used to. If you are trying to figure out how to clean your Fluval 407 filters then stay tuned.
How to Clean Fluval 407 Filter
In this article we are going to take a look at how to safely and efficiently clean your Fluval 07 series canister filter. As we make our way though this article you will see that canister filter cleaning is not as hard as it may seem.
As a side note, all of this information is pretty standard along the entire 06 and 07 series line and follows some basic principals that can be used with about any canister filter. The 06 and 07 series of canister filters from Fluval are all designed the same way and differ only in size and price.
Removing The Fluval 407 From Your Aquarium
For many people this is their first delve into canister styled filters after upgrading from a sponge filter or more traditional hang on back filters that we commonly see in starter kits and pet stores. The initial setup can be a little daunting, but even more nerve wracking is the first time you clean your canister filter.
It’s a powerful device with a great deal of suction and not to mention the price tag, so you definitely want to play it safe when powering the filter down and preparing it for a cleaning.
Disconnecting from your tank
The first thing you want to do when disconnecting your canister from your aquarium is to unplug the power supply or switch off the power strip it is connected to. This will instantly stop the suction from the canister and allow you to safely detach the hoses from the main assembly.
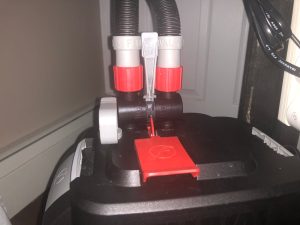
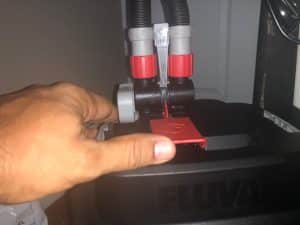
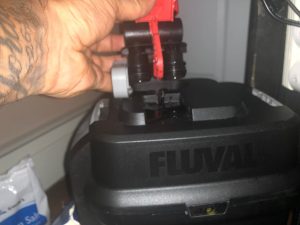
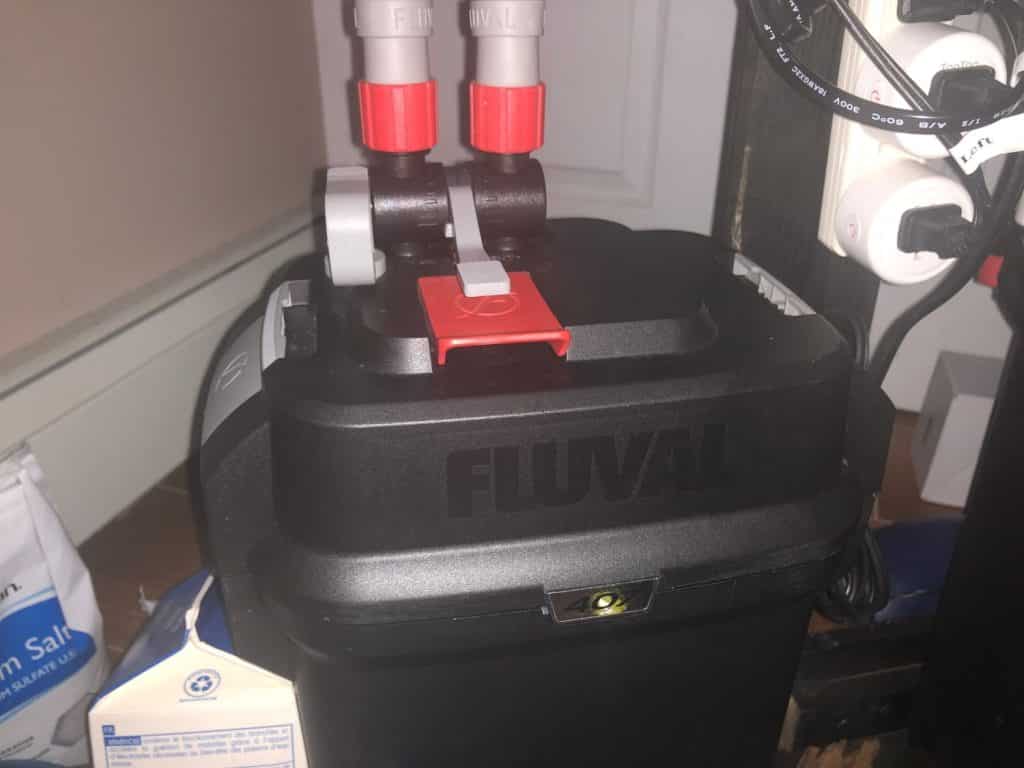
After ensuring that your filter is disconnected from electricity you will want to disconnect your hoses, but do so cautiously! Luckily Fluval made some great design decisions and the hose connections are all built in to one connected unit that plugs in to the top of the filter housing. The aqua stop valve is located between the intake and output hoses on the top of the filter.
You will start by lifting the lever to seal the hoses and prevent water back flow. This is crucial to prevent the water inside the hoses from dumping all over your floor as soon as you remove them from the filter!
After ensuring the aqua stop lever is up, you will then pull the red locking tab up to release the entire hose assembly from the filter housing. This will completely detach the hose assembly, and save for a small amount of dripping, there should be no water escaping from the filter or the hoses at this point.
Before we go much further you should grab a bucket and a towel. Using a towel will help keep things organized and prevent the inevitable dripping of water all over your floors or table.
If you are more of a visual person I’ve got a great video on removing and re-installing your 407 below. Keep in mind this method works exactly the same for all 07 series Fluval Canisters.
Don’t Dump The Water In Your Filter Down The Drain!
The water inside your filter is crucial in cleaning your filtration media. Look at it like liquid gold! You will pour the sealed filter off into a bucket before continuing the disassembly process. We will use this water shortly to rinse all of our filtration media out. Using plain tap water to rinse your media will introduce chlorine to your filter and destroy the beneficial bacteria and the cycle that you have worked so hard to maintain.
Cleaning Your Bio-Media
After you have poured the water from your canister into a bucket, go ahead and continue disassembling the filter on the towel that you had ready. As you go through the process of removing pieces of the canister assembly and the media inside simply take a moment to swish the material through the bucket of water and set it on the towel for safe keeping.
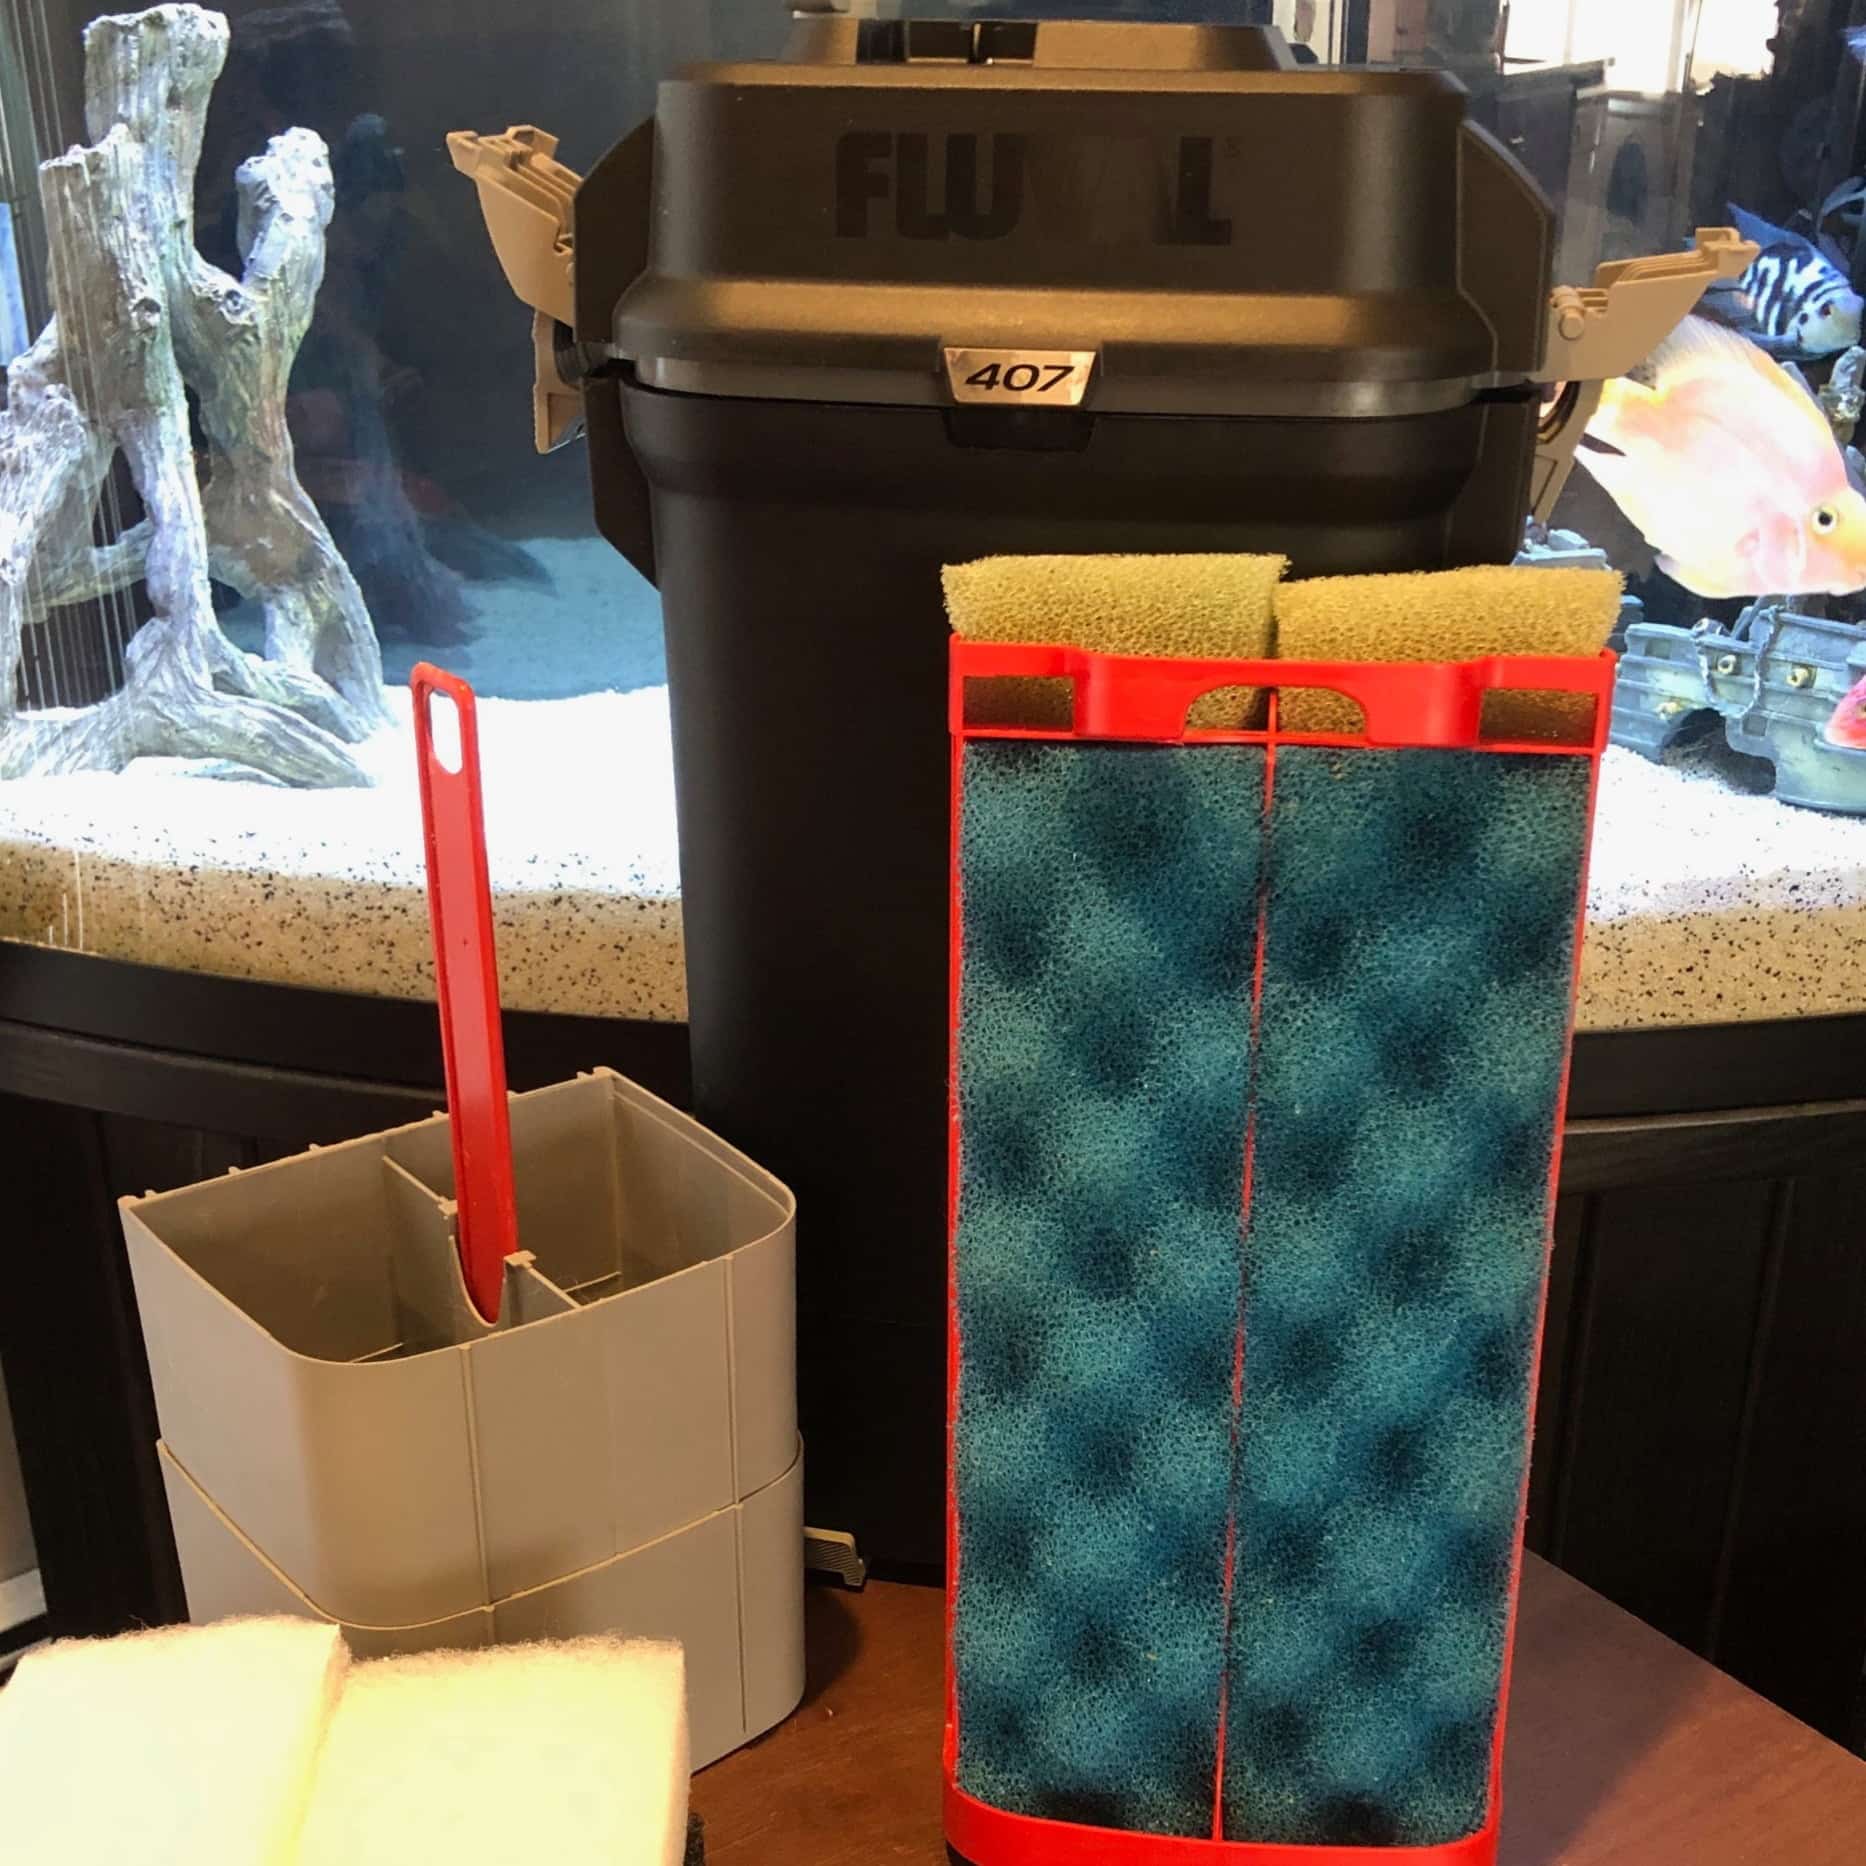
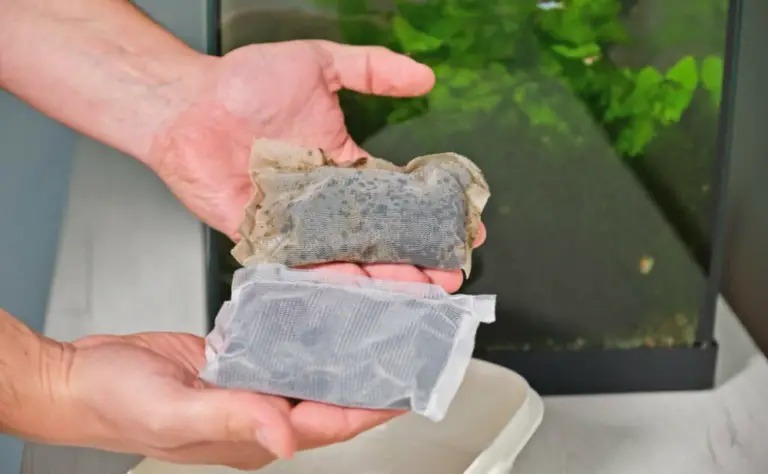
All of your sponges and fabric pads can be easily removed and dropped into the bucket for a “squeeze and shake” inside the water. This technique also goes for coarse sponges in the very bottom of your canister as well. Not much else is needed for the sponges in your filter as they come clean fairly easily. If you are using bagged chemical filtration like Purigen by Seachem you will use the same method.
Don’t clean too much
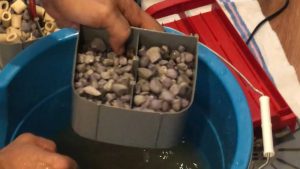
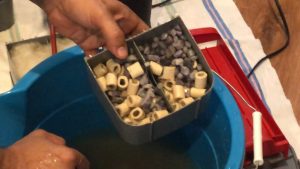
The stacked trays inside the canister that contain your bio-media like Matrix by Seachem or Fluval Ceramic Rings are also super easy to clean. All you need to do is remove the trays while leaving the loose media inside. Dip the trays into the water a few times to remove any large particulate debris and set them to the side.
You don’t need to dump the loose media into the bucket nor do you need to try and scrub the media either. The less you mess with your loose media the better. By the way, the order in which your media is placed in your canister is very important. Check out this article with more information – “What order should my filter media be in?“
When considering poly-fill or filter floss in you canister it is easiest to just replace this when you preform routine cleanings. Filter floss works as mechanical filtration and holds a nominal amount of bacteria, no more than the water trapped in the floss. Tossing it in the trash and replacing it will have no ill effects on your aquarium.
Similarly, polishing pads can be cleaned a few times but will need replaced eventually. It’s easy to tell when they are beyond salvation as they tend to fall apart or stay brown and grungy even after a good rinse in the tank water.
It’s also worth noting that while sometimes you may need to replace filter sponges (more on that shortly) you will never ever replace your bio media. This media is full of beneficial bacteria and removing enough of it will destroy the cycle in your tank and kill your fish off! Even if your Fluval ceramic rings media breaks down or cracks over time it is still doing its job just fine.
Sponges: Cleaning vs. Replacing
Typically sponges last a very long time, most often years provided you are using the proper size and coarseness for your filtration needs. Their maintenance is very simple and there is not much that can go wrong with a sponge. Occasionally a sponge can tear or rip during cleaning, and after a while they will break down so badly that they need replaced but this process generally takes quite a long time.
In the event that you do decide to replace a few sponges in your filter it is important to do it over a period of time. Try to replace one sponge and then wait a few days or weeks to replace the next one. This allows the new sponge to become saturated with beneficial bacteria.
Allowing time for the filter to catch up with the removed bacteria is essential to help to prevent a cycle crash due to too much bacteria being removed at once. Just remember, a sponge doesn’t have to look good to be doing its job.
Replacing Chemical Filtration
Seachem Purigen is a pretty great example of chemical filtration. It serves to reduce ammonia, nitrate and nitrites from your water by absorbing organic wastes. This reduces the likelihood of an ammonia spike hurting or killing your fish and helps to prevent slowly inflicted issues like gill burns from nitrates and similar toxin induced conditions.
The other most common type of chemical filtration is carbon in one form or another. MarineLand Activated Carbon is one of the very well known leaders in the industry. This is commonly used on a temporary basis to remove certain medications from the water column and render them inert.
The microscopic pores of carbon trap the medication and other water pollutants via the process of absorption and then adsorption renders the pollutants inert, an interesting process for sure. Another added benefit of carbon is its ability to remove many odors and discoloration of water caused from driftwood. Carbon does lose its effectiveness fairly quickly and is usually replaced during every routine cleaning of your filter.
Replacing this filtration regularly is important for many reasons, the most important of which is ensuring consistency in your aquarium. If any issues are occurring in your tank that you are unaware of, like a dead fish being hidden behind a decoration and leaching ammonia or the beginning of a cycle crash, these chemical filtration elements act as a line of defense against the proverbial “tank nuke.” A spike in toxins severe enough that could injure or kill off all of your fish.
Chemical Media is optional
Chemical media is not necessary in your tank but it can serve to be helpful in different ways. Besides the previously mentioned reasons of helping to reduce ammonia, nitrite and nitrate, chemical media can remove any medications used in the tank and can also eliminate bad odors coming from your tank.
If you have real wood in your tank it can leach tannins into your water giving your water a dark yellowish/brownish tint. Chemical media will also absorb these tannins helping to get your waters color back to normal.
But perhaps the most frequently used reason is its ability to improve your waters clarity, and it definitely does.
My go to choice for bio media is Chemi-Pure Blue which is a mix of activated carbon and Purigen together. Below is a short video of the before and after look of the waters quality when using Chemi-Pure Blue as my chemical media.
