How to Do a Saltwater Tank Water Change in 10 Steps
A saltwater tank water change isn’t just about swapping out old water for new, it’s about maintaining stability — literally! Stability in your water, fish, and coral! A proper saltwater tank water change helps maintain water quality, replenish essential minerals, and remove waste buildup. Here’s how to do it right in 10 simple steps.
Saltwater Tank Water Change
Follow along with KaveMan Aquatics:
1. Pre-Water Change Testing
Before you touch a drop of water, grab a sample and test it. The goal? To see where your tank’s parameters stand before making adjustments. In the beginning, you might test everything under the sun, but as your tank matures, focus on the essentials — alkalinity, nitrates, and phosphates (or whatever you personally track). We use the Hanna Marine Master Test Kit for reliable results.
2. Algae Scraping
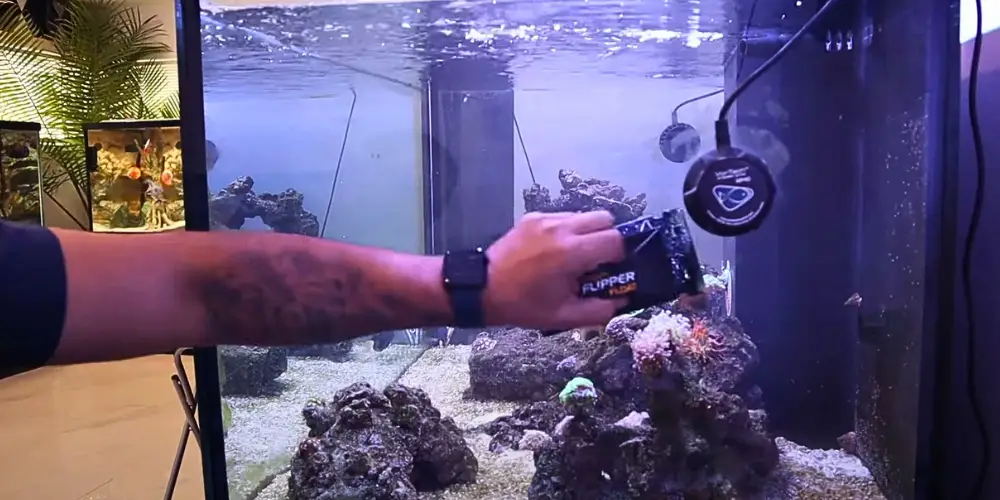
Nobody likes dirty glass. Before draining the water, scrape off any algae and biofilm. This lets your filter or sump help remove the debris. Plus, if you’ve got tangs or other algae grazers, congrats — you just gave them a gourmet snack! Let everything settle for 10 to 15 minutes so the filter can grab as much as possible before moving on.
If you want to use what we use, it’s the Flipper Float aquarium glass cleaner.
3. Turn Off Equipment
Turn off your pumps and wavemakers — especially if you have a sump. Why? Water will continue to overflow into the sump, so always leave some extra space there in case of a power outage. If you’re using a canister or hang-on-back (HOB) filter, make sure the intake stays submerged. And yes, turn off your wavemakers, unless you enjoy a confetti storm of debris swirling around your tank.
Once your tank’s done draining, we can move onto step number four.
4. Remove the Water
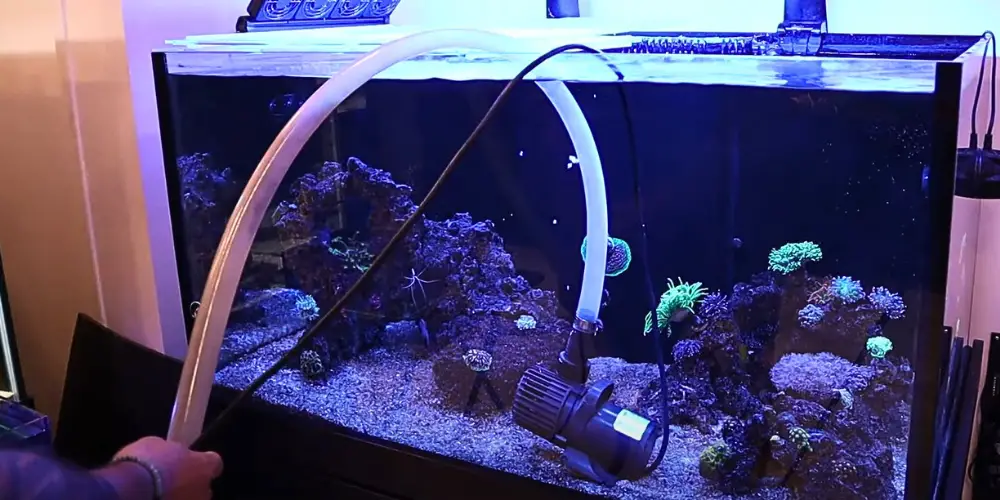
A 10% to 20% water change every 1 to 2 weeks is standard, but your tank’s needs may vary. If you’re not sure how much water to remove, a 30 gallon-ish Brute trash can from Home Depot makes a great measuring tool. For our 150-gallon tank, a 20% change means draining 30 gallons. We use the Vivosun Aquarium Water Pump (2700 GPH) to make the job easy.
Pro tip: Mark the water level after your first change for future reference!
5. Mix the Salt
Mixing salt properly is crucial — no one wants a salinity disaster! Here’s how:
- Use RODI water (never tap water) to avoid contaminants.
- Add marine salt mix gradually (for us, that means aiming for 35 ppt salinity).
- Stir with a powerhead or let it mix for a few hours until fully dissolved.
- Check salinity with a refractometer before adding it to the tank.
If you want more details, we have a video for you!
6. Fill the Tank
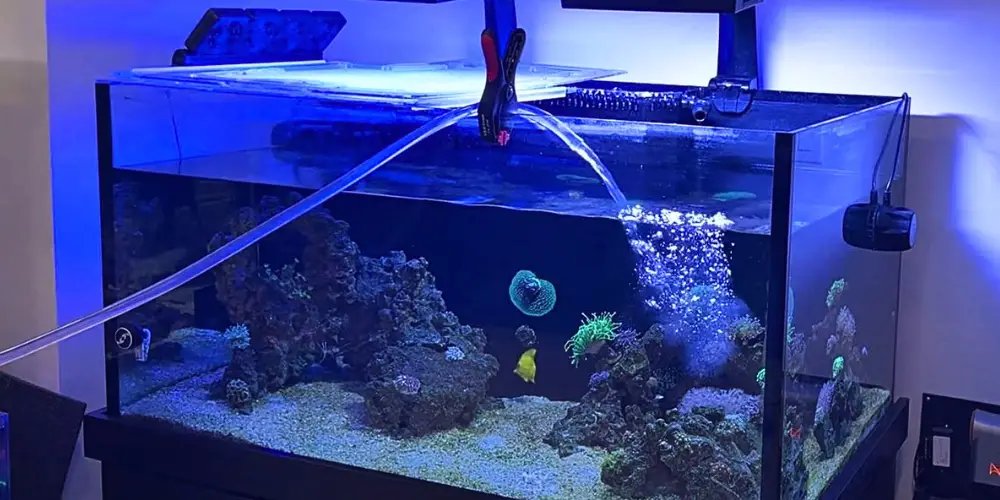
Once your new saltwater is at the right salinity, pump it back into the tank using a Vivosun Aquarium Water Pump (800 GPH). A hose clamp keeps things in place, so you don’t end up flooding your floor. Stop filling just before the overflow kicks in — you don’t want to overwhelm the sump!
7. Clean Sump or Filter Equipment
Before flipping the switch back on, clean your filter or your sump. Empty and rinse filter socks, clean the protein skimmer, and remove any gunk. If you use a canister or HOB filter, give it some love now.
8. Turn Equipment Back On
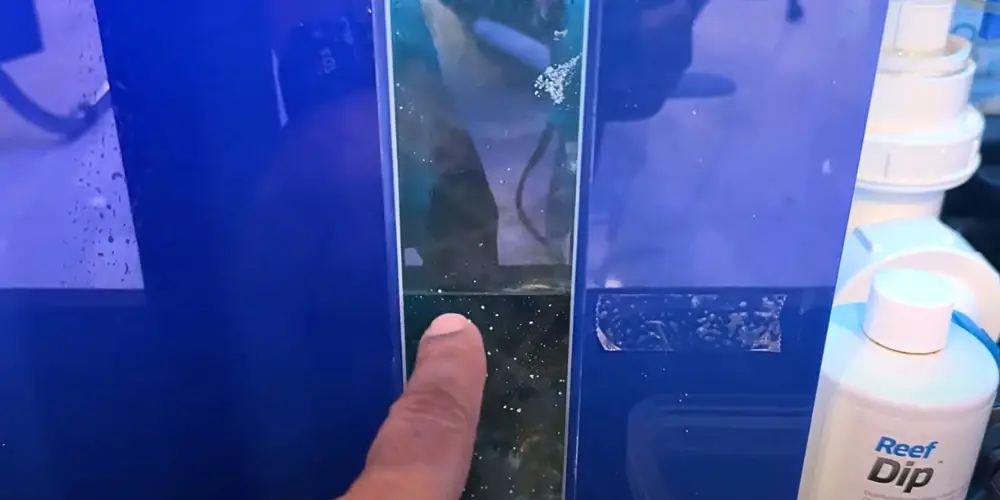
Now, turn everything back on and check the water level in your sump. It should return to normal as the pumps circulate water back into the tank. If you notice odd flow patterns, adjust accordingly.
9. Adjust Dosing and Track Changes
Remember those test results from Step 1? Now’s the time to make dosing adjustments. If alkalinity was low, tweak your dosing regimen.
Pro tip: Life gets busy — track these changes with our FREE Aquabuildr app to keep records of trends, adjustments, and test results.
10. Wipe Down the Glass
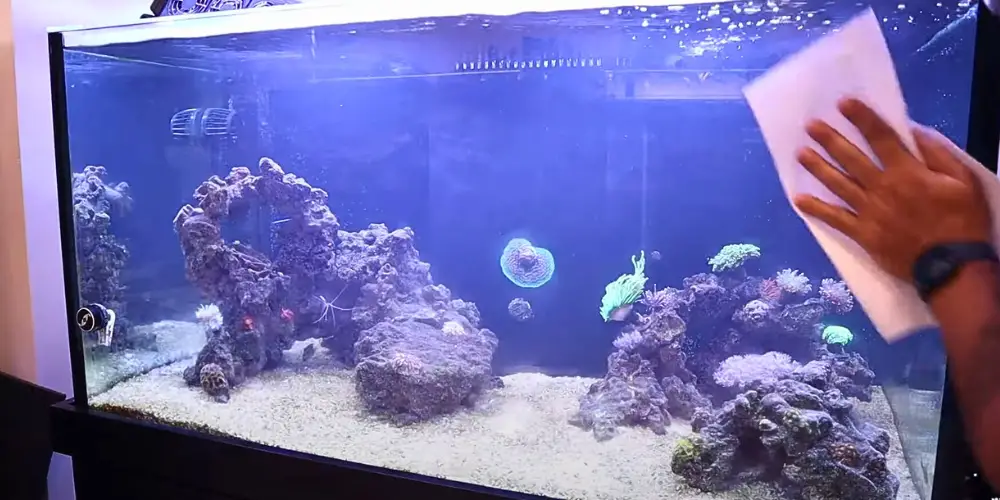
The final step? Clean the outside glass. Fingerprints, salt creep, and water spots can make even the cleanest tank look messy. A quick wipe-down leaves you with a crystal-clear view of your masterpiece.
Keep Your Saltwater Tank Thriving With Aquabuildr!
You’ll keep your tank clean, your water chemistry balanced, and your aquatic life happy, by following these saltwater tank water change steps.
Want to take the guesswork out of tank maintenance? Check out Aquabuildr — the ultimate fish-keeping app designed to help hobbyists like you create and maintain healthy aquariums. With intelligent alerts, tank monitoring, and a smart compatibility algorithm, Aquabuildr simplifies fish-keeping so you can focus on enjoying your aquatic world.
Ready to level up your fish-keeping game? Download Aquabuildr on the Google Play Store and Apple App Store!
Best Saltwater Fish for Beginners
Discover the best saltwater fish for beginners! Explore colorful, low-maintenance fish that are perfect for starting your first saltwater tank.
7 Easy Ways to Keep Your Aquarium Cool This Summer
Don’t let summer heat stress your fish! Here’s how to keep your aquarium cool, calm, and collected all season long.
Do You Really Need a Protein Skimmer in Your Saltwater Tank?
Wondering if a protein skimmer is worth it? Find out if your saltwater tank really needs one and what it actually does for your setup.
