Easy Sponge Filter Setup & Modification (Less Noise, More Oxygen)
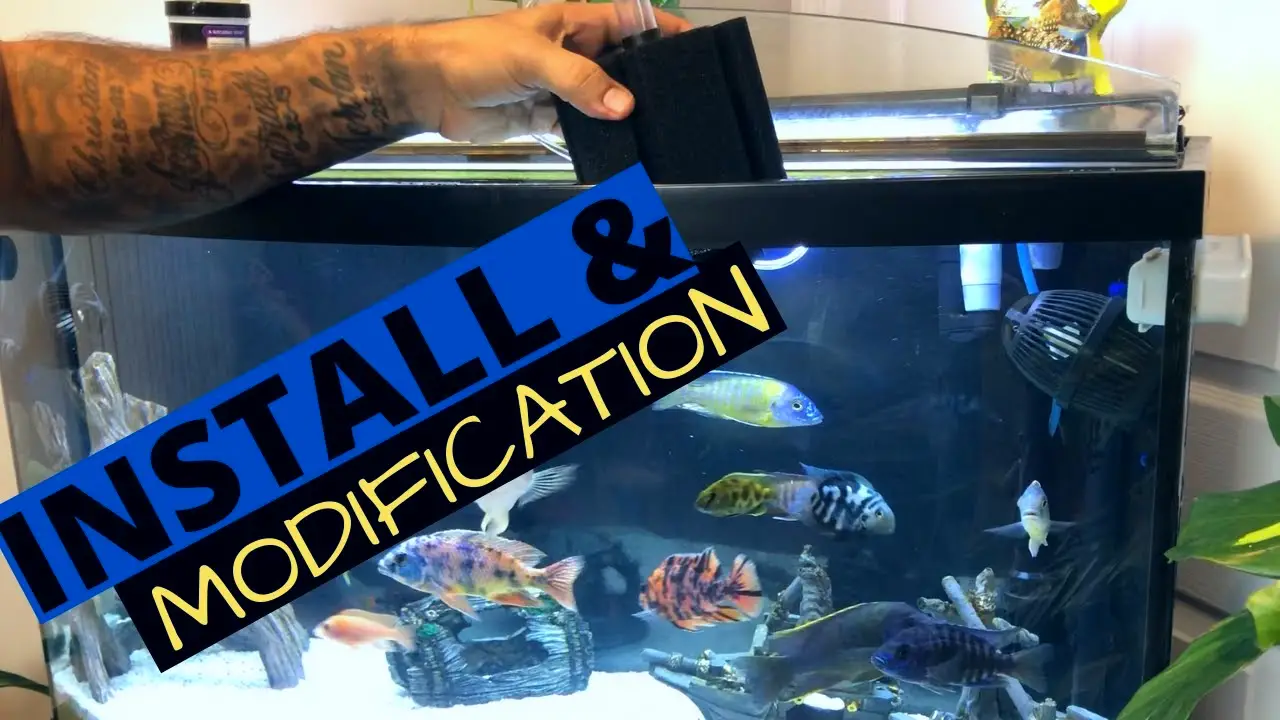
So you’re ready to do a sponge filter setup in your aquarium, but you’re also concerned about the noise it will make once it’s installed. No worries!
We’ll show you more than just how to do a sponge filter setup – we’ll include a simple modification that will make the sponge filter quieter and help produce more oxygen.
In this article, we’ll give you step-by-step instructions (with a video), so you can follow along.
Follow along with this video if you’re in a hurry:
What Is a Sponge Filter?
A sponge filter is the simplest form of all aquarium filters. It is considered both a mechanical and biological filter – two of the most important types of filters.
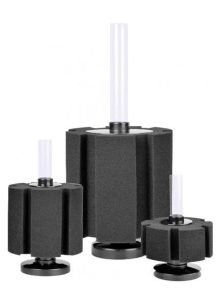
It consists of three main components:
Some fishkeepers add an airstone as a nice little extra to, you’ve guessed it, lessen the noise and increase the oxygen levels. For the purposes of this article, you’ll need a small enough airstone.
Sponge filters are easy to use, budget-friendly, and reliable compared to other filter types. Want to know more about sponge filters? Here’s all you need to know.
How To Setup a Sponge Filter
Step 1: Get The Materials
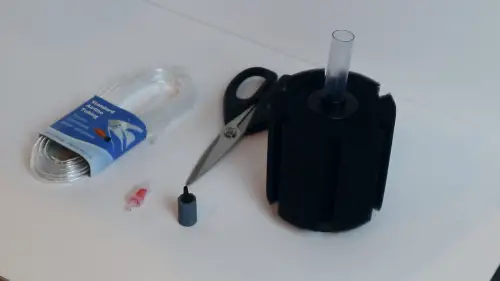
Get all your materials ready for the sponge filter setup and modification. All you need are the following items:
- Sponge filter
- Airline tubing
- Airstone
- Scissors
- Check valve
Step 2: Take Apart The Sponge Filter
Now that you have everything ready, start by taking the sponge filter apart:
- Remove the lift tube from the top of the sponge filter.
- Remove the cap off the top of the sponge filter.
- Remove the sponge.
- Remove the base from the bottom of the sponge filter.
All that will be left are two separate columns attached to each other.
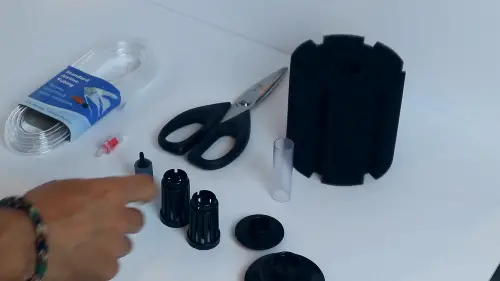
Step 3: Modify The Columns
Both of the columns have centerpieces and spokes – we’re going to cut them out:
- Detach the two columns from each other.
- With the scissors, cut out the spokes which will also remove the centerpieces.
- Once the centerpiece is removed, set it aside.
- You will then have the two columns with clean openings.
By modifying the two columns, we’ll be able to add the airstone into a secured space.
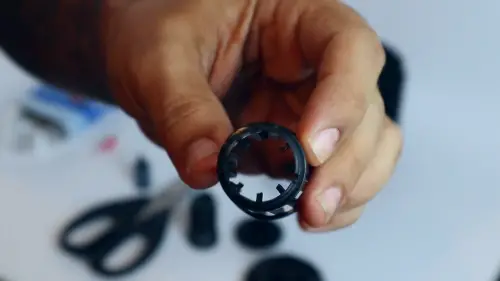
Step 4: Setup The Air Tubing
Next, you’ll need to measure and cut the air tubing that will connect with the airstone:
- Measure the length of the sponge with the air tubing.
- Take that measurement and cut the air tubing.
- Grab your airstone and connect it to one end of the air tubing.
- Put the airstone into the newly cut opening of one of the columns.
- Connect the second column to the one containing the airstone.
Now your airstone is tightly secured between the two columns.
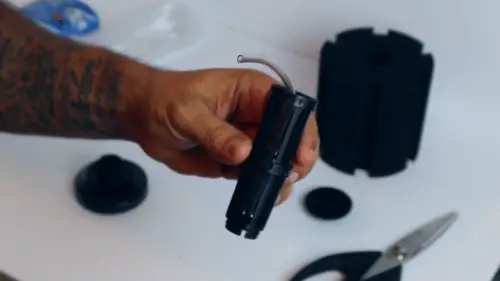
Step 5: Setup The Sponge Filter
Now that the air tubing is set up and connected to the secured airstone, you can start with the sponge filter setup:
- Connect the columns to the sponge filter’s base.
- Slide the sponge back on with the air tubing sticking out of the top opening.
- Grab your scissors and cut the remaining part of the air tubing – allow a breathing space of a quarter of an inch.
- Take one of the cut-off centerpieces and cut about half an inch of the tip (be careful to not cut yourself) – the tip serves as an adapter.
- Connect the centerpiece’s tip to the air tubing that’s attached to the airstone (it will help to slide the sponge and columns off).
- Once connected, ensure that the airstone is secure in the two columns and that the sponge is slid back on.
- Now you can connect the air tubing to the sponge filter’s cap.
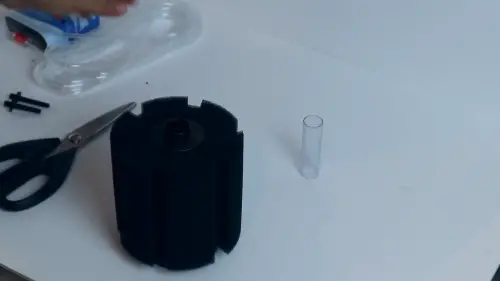
Step 6: Connect The Air Tubing
Now that you’re sponge filter is setup, you can connect the sponge filter to the rest of the air tubing:
- Take the excess tubing and put it through the lift tube.
- Connect the air tubing to the cap of your sponge filter.
- Slide the lift tube down and connect it to your sponge filter.
Congrats! You’ve set up a modified sponge filter that will make less noise and produce more oxygen.
Step 7: Add The Sponge Filter To The Aquarium
Your modified sponge filter is ready to be added to the aquarium:
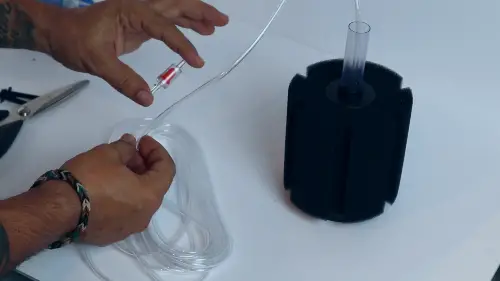
- Place the sponge filter into the aquarium and squeeze out any bubbles from the sponge to keep it from floating.
- Place the air pump in its final position outside the tank.
- Cut the airline tubing roll (connected to the sponge filter) to the proper length to reach the air pump.
- Connect the air pump to the newly cut air tubing from the sponge filter.
- If the air pump is located below the top of the aquarium, you need to add a check valve to prevent water from flowing into the airline tubing whenever the air pump is turned off or the power is out.
- Cut the airline tubing (between the sponge filter and air pump) a few inches outside of the aquarium.
- Attach the check valve in between so that the end of the check valve with the flapper (looks like a colored or horizontal bar usually) is facing the air pump.
- Make a drip loop with the air pump’s power cable (to prevent moisture from coming into contact with the plug), and then plug in the air pump.
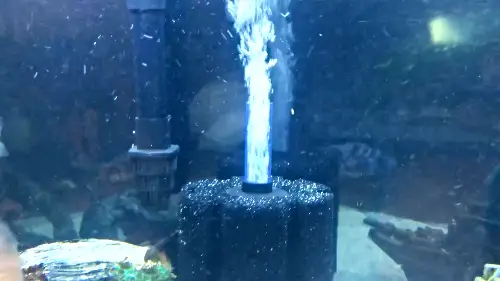
- Bubbles will start flowing out of your sponge filter.
And you’re done! An easy sponge filter setup with a small modification to reduce the large bubbly sound and to create more oxygen.
Conclusion
Setting up a sponge filter is a simple task that you can complete in about an hour. There are many different varieties of sponge filters on the market, so do your research to find the one that will work best for your tank.
If you have any other concerns and require a more personal touch to your fishkeeping journey, KaveMan Aquatics offer 1-on-1 consulting services.

-
Best Saltwater Fish for Beginners
Discover the best saltwater fish for beginners! Explore colorful, low-maintenance fish that are perfect for starting your first saltwater tank.
-
Acclimating New Fish: Drip vs. Float Method
Learn the pros and cons of the drip vs. float method for acclimating new fish and give your aquatic pets the smoothest transition into their new home.
-
Best Beginner Freshwater Fish (That Aren’t Goldfish!)
Looking for the best beginner freshwater fish? Dive into our list of easy-to-care-for fish that’ll make your tank pop! Plus, see how Aquabuildr can help!

