3 Simple Steps to Switch to Saltwater Tanks
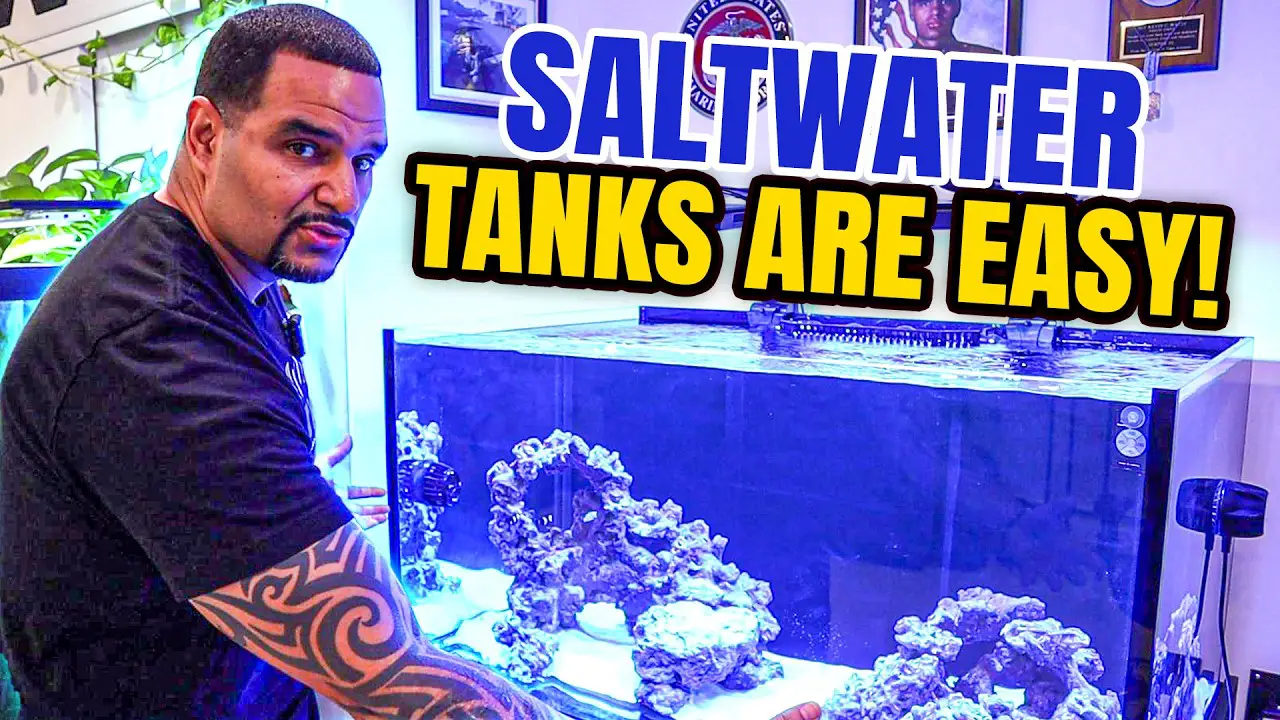
Making the switch to saltwater tanks might seem overwhelming, but if you’ve managed a freshwater tank, you’re more prepared than you think!
As a start, we’ll focus on setups for fish only (FO) and fish only with live rock (FOWLR), saving reef tanks (which include coral) for later. Think of it as our own acclimation process — just as fish need time to adjust, so do we!
For now, let’s cover the three simple steps to switch to saltwater tanks.
Things You Need
Before we start, here are the three things you need:
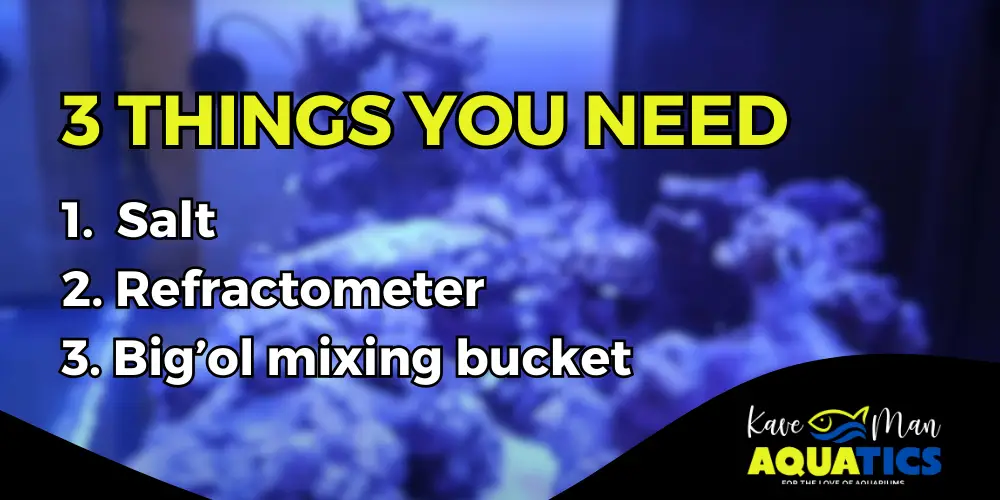
- Get salty: First, you’ll need salt specifically formulated for saltwater tanks.
- Buy a refractometer: Next, get a refractometer to measure the salt levels accurately.
- Find a “big’ol mixing bucket”: Lastly, grab a big ol’ mixing bucket to prepare the saltwater.
What You Already Have
If you’re a freshwater hobbyist, you already have the following and don’t need to necessarily buy:
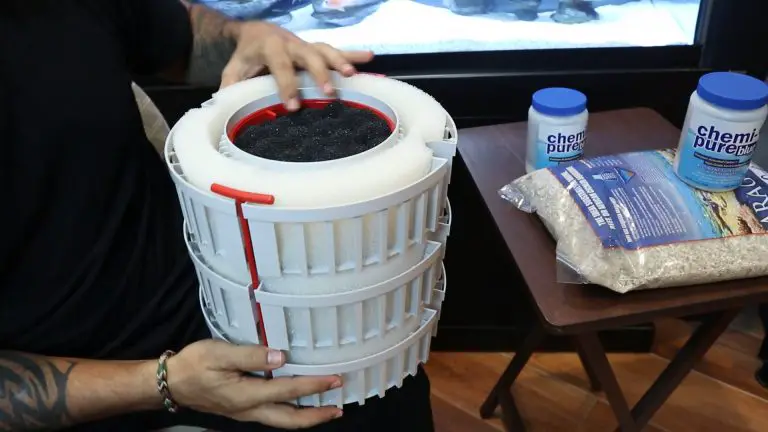
- Filtration
- Heater
- Lighting
- Wave Maker
Things You Don’t Need
Starting a saltwater tank can seem like a big investment — which is one of the many myths about saltwater tanks — but you don’t need everything right away.
Let’s break down a few things you can skip for now.
Reverse Osmosis Deionized (RODI) Water
RODI water is only necessary if you plan to keep coral. For a beginner setup with just FO or FOWLR, you don’t need RODI water. You can use a water conditioner like Seachem Prime to treat tap water. This keeps things simple and affordable as you start your saltwater adventure.
Expensive Equipment
Things like skimmers, dosers and UV lights are often touted as must-haves, but they aren’t required for a basic FO or FOWLR setup. They’re great for advanced setups or reef tanks, but for now, you can keep it simple and save some money.
Sump
While a sump can be beneficial for increasing water volume and hiding equipment, it’s not necessary for starting out. You can run a successful saltwater tank without one, especially if you’re focusing on FO or FOWLR.
3 Steps to Switch to Saltwater Tanks
With all that in mind, here are the three simple steps to help you switch to saltwater tanks.
Step 1: Rehome Your Freshwater Fish
Before anything else, you need to rehome your freshwater fish — if you don’t already have a new, dedicated saltwater tank.
If you have an existing freshwater tank, you can move them there. If not, consider giving them to a friend or taking them to your local fish store.
Step 2: Empty the Tank
Next, empty your chosen saltwater tank completely. Remove any decor that you don’t want in your new saltwater setup.
Then, do a 100% water change to start with a clean slate. This way, you’ll create the ideal environment for your future saltwater inhabitants.
Step 3: Add and Mix New (Dechlorinated) Saltwater
Now it’s time to prepare your saltwater. Fill your big ol’ mixing bucket with tap water and add Seachem Prime to dechlorinate it.
Then, mix in the salt. We recommend using Aquavitro’s salinity™ salt, dosing ½ cup per gallon of water. Aim for a salinity of 35 parts per thousand (PPT) or a specific gravity (SG) of 1.026.
Use your refractometer to measure your tank’s salt levels. Once the salt is mixed and dissolved, add it to your tank. Lastly, let it cycle!
Switch to Saltwater Tanks With Help From Aquabuildr!
The switch to saltwater tanks is simpler than it seems. And with these basic steps, you’re well on your way.
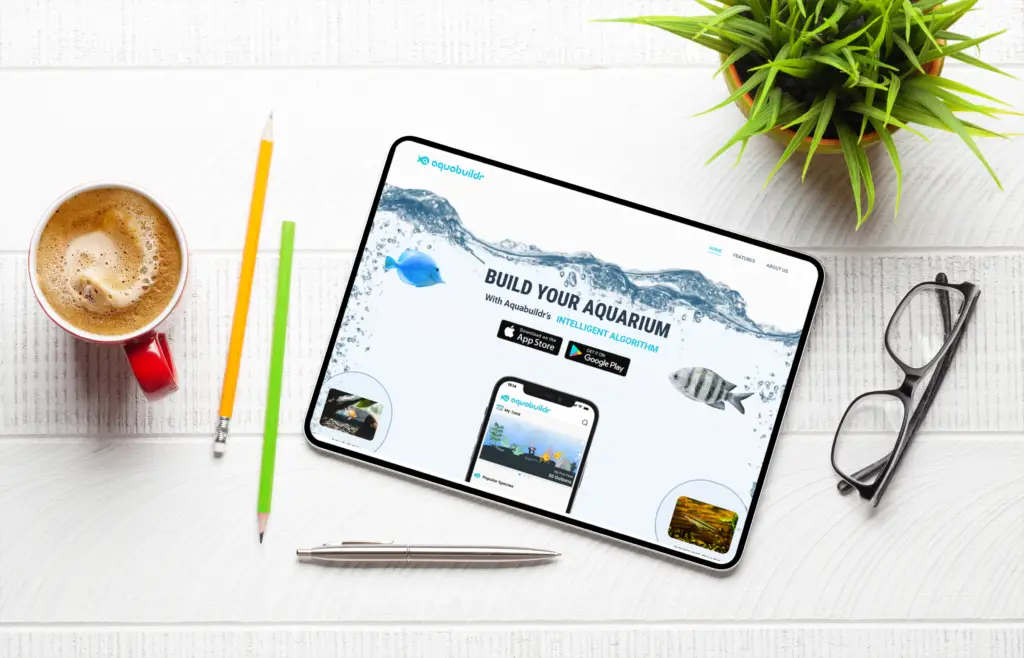
To make your transition even smoother, check out our app, Aquabuildr. Its smart algorithm can help you build your fresh- or saltwater aquarium. Get detailed tank information from fish species, temperatures, pH values and more!
Aquabuildr is free on the Google Play Store and Apple App Store — ready and waiting to help you create your perfect saltwater tank.
3 Simple Steps to Switch to Saltwater Tanks
Learn how to switch to saltwater tanks in 3 easy steps. Perfect for freshwater hobbyists looking to start a saltwater tank for the first time!
