How To Vacuum Aquarium Substrate Like a Pro (Sand & Gravel)
So you want to vacuum aquarium substrate like a pro… Perfect! You’re in the right place. A clean aquarium means more than just doing water changes, it also needs its surfaces to be cleaned (or in this case, vacuumed).
In this article, we’ll quickly explain why you need to vacuum your substrate, list the steps on how to vacuum aquarium substrate ( be it gravel or sand), and end off with some pro tips.
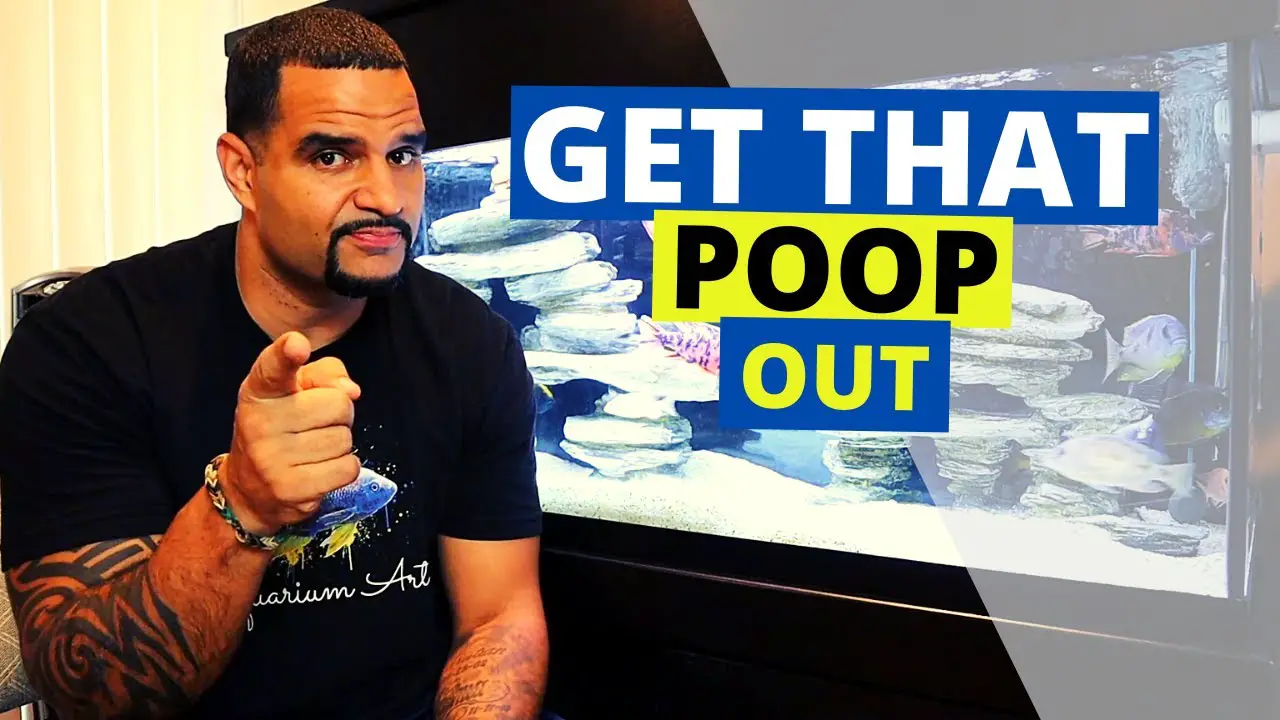
A clean aquarium equals happy and healthy fish. Happy fish, happy fishkeeper. Now let’s get that poop out!
Why Vacuum Aquarium Substrate?
Before we start, why do you need to vacuum aquarium substrate in the first place? No matter how many filters or wavemakers you have, there will always be some debris stuck in a corner or hiding under your decor.
Debris is mostly made up of fish waste, uneaten fish food, and dead plant materials. The debris sinks down at the bottom of your tank and lingers on its surfaces.
This can be detrimental to your water’s quality. Fish waste, excess food, and plant waste break down and release ammonia into your water (the first stage of the aquarium nitrogen cycle). It can even result in cloudy water.
By vacuuming your aquarium substrate, you can remove these pesky particles and decrease your water’s ammonia levels, ultimately decreasing your nitrate levels.
Pockets of debris under your substrate, once cut off from oxygen, can develop anaerobic bacteria. Although these little guys can naturally remove nitrates, they also release hydrogen sulfide into the water once disturbed.
Just like ammonia, hydrogen sulfide is also toxic to your fish, resulting in increased diseases and maybe even death. The smell of rotten eggs usually indicates whether you have disturbed these bacteria.
In short, you need to vacuum your substrate to:
- Remove fish waste, uneaten fish food, and dead plant materials
- Decrease ammonia levels in your water
- Decrease chances of building up hydrogen sulfide in your water
- Prevent diseases
- Prevent cloudy water
- Help maintain a crystal clear aquarium
Note: It’s preferable to control where anaerobic bacteria grow by reading our article about how Seachem Matrix can reduce nitrates.
How To Vacuum Aquarium Substrate?
Now that you know why vacuuming your substrate is important, you can follow along with this video below. We’ll show you how to vacuum aquarium substrate in six easy steps.
Step 1: Get The Materials
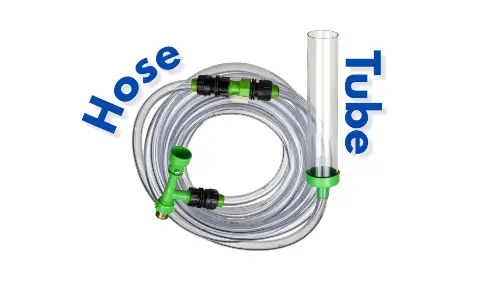
Get all your materials ready. All you need are two items: 1) an aquarium siphon and 2) a bucket to hold the dirty water. If you have more than one tank to vacuum, you might need either a bigger bucket or multiple buckets.
Technically, you might only need the aquarium siphon if its hose is long enough to reach a nearby sink or even the backyard to water your outdoor plants.
There are various types of aquarium siphons available – choose the one you’re most comfortable with. For the purposes of this article, we’re using a water-driven siphon, the Aquarium Python.
Step 2: Prepare The Tank
Next, you need to prepare your tank. Unplug your heater, filter, and wave maker if you have one, as your tank’s water levels will deplete during the vacuuming process. Don’t worry, it’ll be quick so your fish will be okay.
The good news is that you don’t have to remove your fish when planning to vacuum aquarium substrate. The process of catching them is much more stressful than a little vacuuming.
But what you do need to remove are your aquarium decorations – especially those in areas you plan to vacuum.
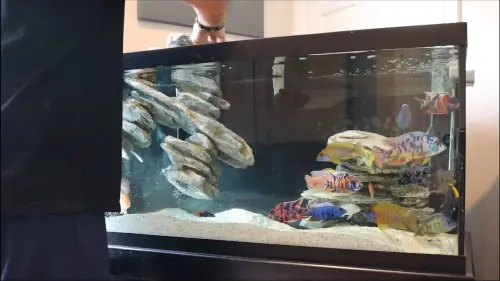
Step 3: Start The Siphon
Aquarium siphons work by sucking water and debris out of your aquarium using gravity. To start the siphon, place the hose end of the siphon into a bucket. Note that the hose end of the siphon must be lower than the tube end of the siphon.
Then, completely submerge the tube in the tank, allowing it to fill with water and release all the air bubbles. Do this by keeping the tube at a diagonal angle with its opening pointed upwards.
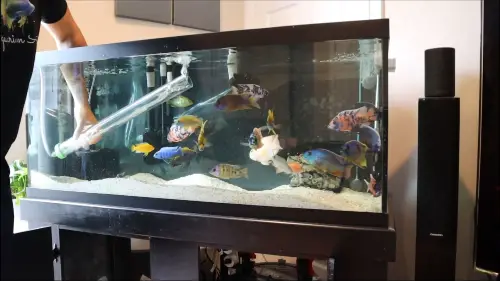
Once the tube is fully submerged and full of water lift the tube out of the water and above the tank. This way gravity forces the water down through your hose and into the bucket (or sink, yard)
Before all the water leaves your tube, lock the valve (if you’re using the Aquarium Python) or bend the hose to make a kink, which will also lock the water in place – trapping the siphon (vacuuming action) inside the hose.
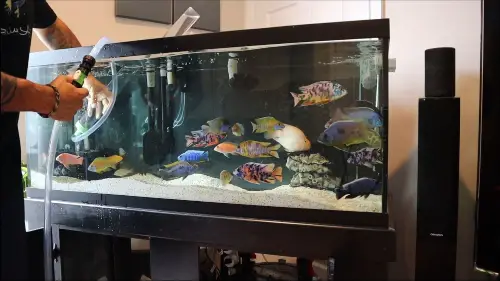
Immediately plunge the tube back into the water at the same diagonal angle and allow tube to fill with water again.
Keep the valve locked or the hose clamped.
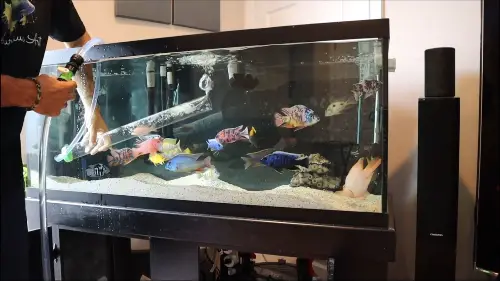
Point the tube opening down toward the substrate at the tank’s bottom. At this point, you can open the valve or loosen the hose again.
There you have it, you’ve just successfully created a siphon that’s sucking the water out of your tank and out the end of the hose.
Step 4: Vacuum The Substrate
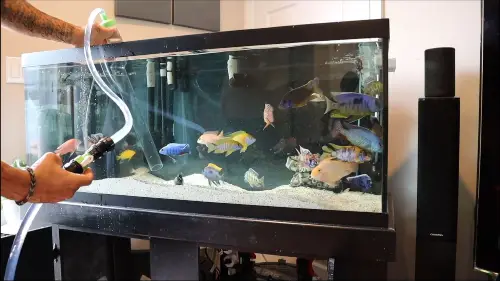
Now that we’ve got a good siphon going, brush the siphon through the surface of the sand or gravel, and let it start vacuuming up some of the detritus.
The debris is lighter than the substrate, so you can occasionally pinch the hose with your other hand that is not in the water to momentarily stop the suction.
As a result, the heavier substrate falls out of the tube while the lighter debris continues to float within and is vacuumed up as soon as the hose is loosened – turning the vacuum on again.
Vacuum the substrate in rows, methodically, as if you were mowing a lawn – cleaning roughly half of your substrate with this technique. Don’t vacuum through all your substrate, only the problem areas. During next vacuuming session begin with the next half.
How To Vacuum Sand Substrate?
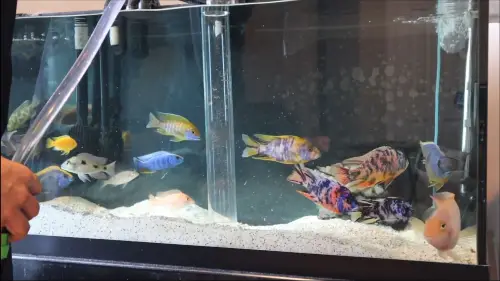
To vacuum sand substrate, you only have to brush the surface of the sand as it’s a dense type of substrate – making it harder for debris to slip through.
However, if you have fish that love to dig such as African Cichlids, you need to dig into the sand to really clean the substrate.
Instead of lightly brushing over the sand, dig the tube to the bottom of your tank. You’ll start to see some of your sand being vacuumed up. Close the valve (or clamp the hose) once a portion of the tube is filled with sand – stopping the siphon.
The sand will then fall back down into your tank. Now you can open your valve (or loosen your clamp on the hose) to start vacuuming the debris that escaped from the siphoned sand.
This is similar to how you vacuum gravel substrate. The only difference is that sand is lighter than gravel and thus gets vacuumed up much quicker. So you’ll need to pay attention.
How To Vacuum Gravel Substrate?
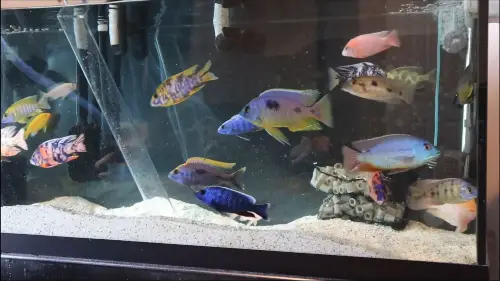
As mentioned in the above section, you can use the same technique we used to brush and dig into the sand with the gravel substrate.
Note that you first want to brush over the gravel and then dig into the gravel. This way you’ll efficiently vacuum up all the debris.
Because gravel substrate is much heavier than sand, it’s an easier process. So you don’t have to worry about vacuuming up all your substrate.
Step 5: Remove The Siphon
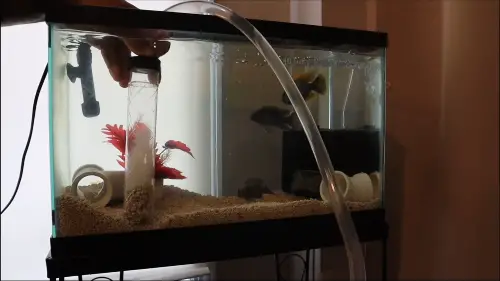
Once you’re done siphoning through your tank, remove your tube from the water with an upwards angle. This prevents the dirty water that’s still in your tube from falling back into the cleaned aquarium.
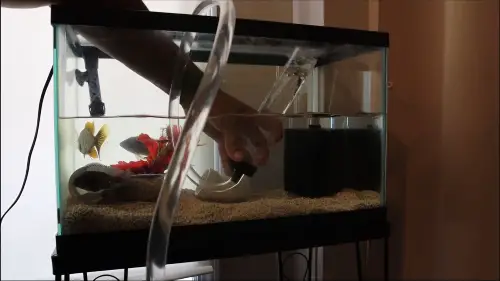
Step 6: Refill Water
Tadah! That’s how you vacuum aquarium substrate. Don’t forget to refill the water you just siphoned out.
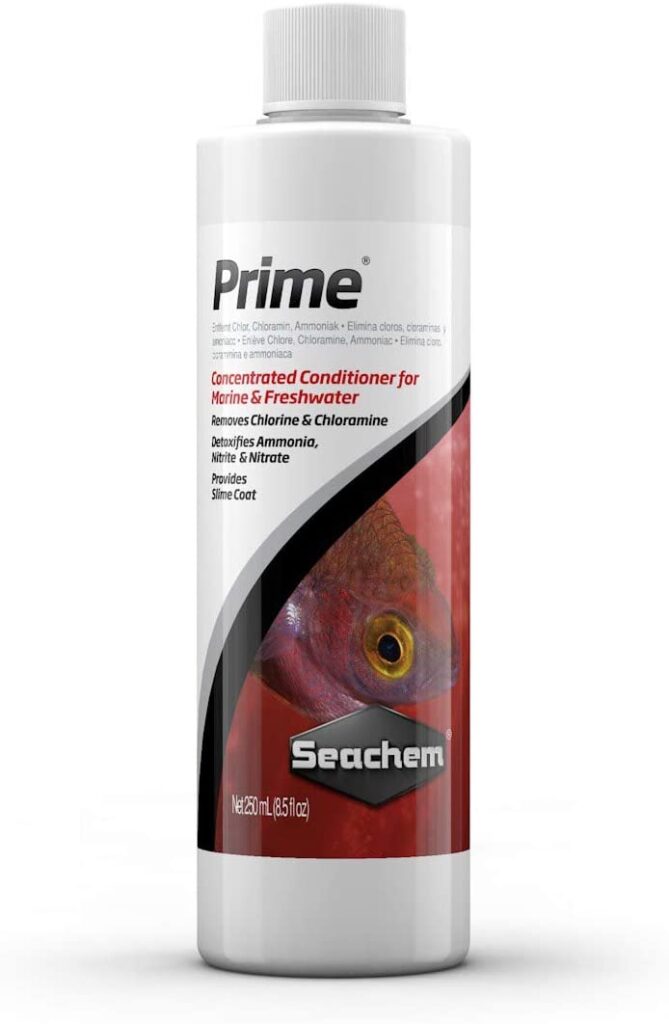
Refill the aquarium with fresh water that is about the same temperature as the aquarium. Don’t forget to add a dechlorinator when adding the tap water which will chlorine, chloramine, and other harmful substances.
Use Seachem Prime for tanks under 100 gallons or use Seachem Safe for tanks 100 gallons and over.
Pro Tips
Be a real pro and vacuum aquarium substrate in a safe and efficient way with these few pro tips:
- Be cautious of your fish during the siphoning process – some may get hurt.
- Keep a close eye on your bucket or sink when siphoning as they can overflow.
- Be extra careful around water and electrical outlets and cords.
- Try to stop the siphon before the bucket is 75% full.
- Towels are your friend!
Get Crystal Clear Aquarium Water
If your substrate is just too dirty and it’s time to replace it, we’ve got the perfect article for you that focuses on replacing substrate in an established tank.
Okay okay, maybe you’re just not into vacuuming substrate. We understand you. That’s why we also have an article on how to clean your substrate without vacuuming.
If you’ve just finished vacuuming your aquarium substrate and want to achieve a crystal clear tank but you just can’t seem to get it right, then KaveMan Aquatics can help you.
We have three top tips for you…
As well as an ebook that can help you achieve crystal clear and clean water. Click the button below to learn more about our Crystal Clear Aquarium Water ebook.


