9 Steps To Safely Move an Aquarium to a New Home
Are you moving to a new home? Congrats on this new chapter! One thing though… You have an aquarium, right? How exactly do you move an aquarium to a new home? This can be a stressful situation — for you, your family and your fish! Even moving an aquarium a few inches might be challenging. It’s not as simple as rounding up a few strong friends and moving the tank. Each fish has unique needs, and you’ll want to remove the tank safely to avoid leaks or cracks in the glass.
If you need to know how to relocate a fish tank to a new location, we’ll show you how to get the tank ready to go as soon as possible. We’ve compiled a list of instructions that will help guide you on how to safely move an aquarium to a new home — so that this new chapter in your life can be a stress-free experience for you and your fish.
9 Steps To Move an Aquarium to a New Home
Follow these nine steps to move an aquarium to a new home — safely.
Preparation
Preparation is key — as always. This is a big project that requires at least some amount of planning and preparation to make the move a smooth-running experience.
1. Gather Supplies
A fish tank must be empty to be moved securely. Leaving pebbles and gravel in place throughout the transfer can be an expensive mistake. The following items will assist you in creating a temporary home for everything inside the tank.
- Fishnet: Remove the fish as well as any décor or plants with the fishnet.
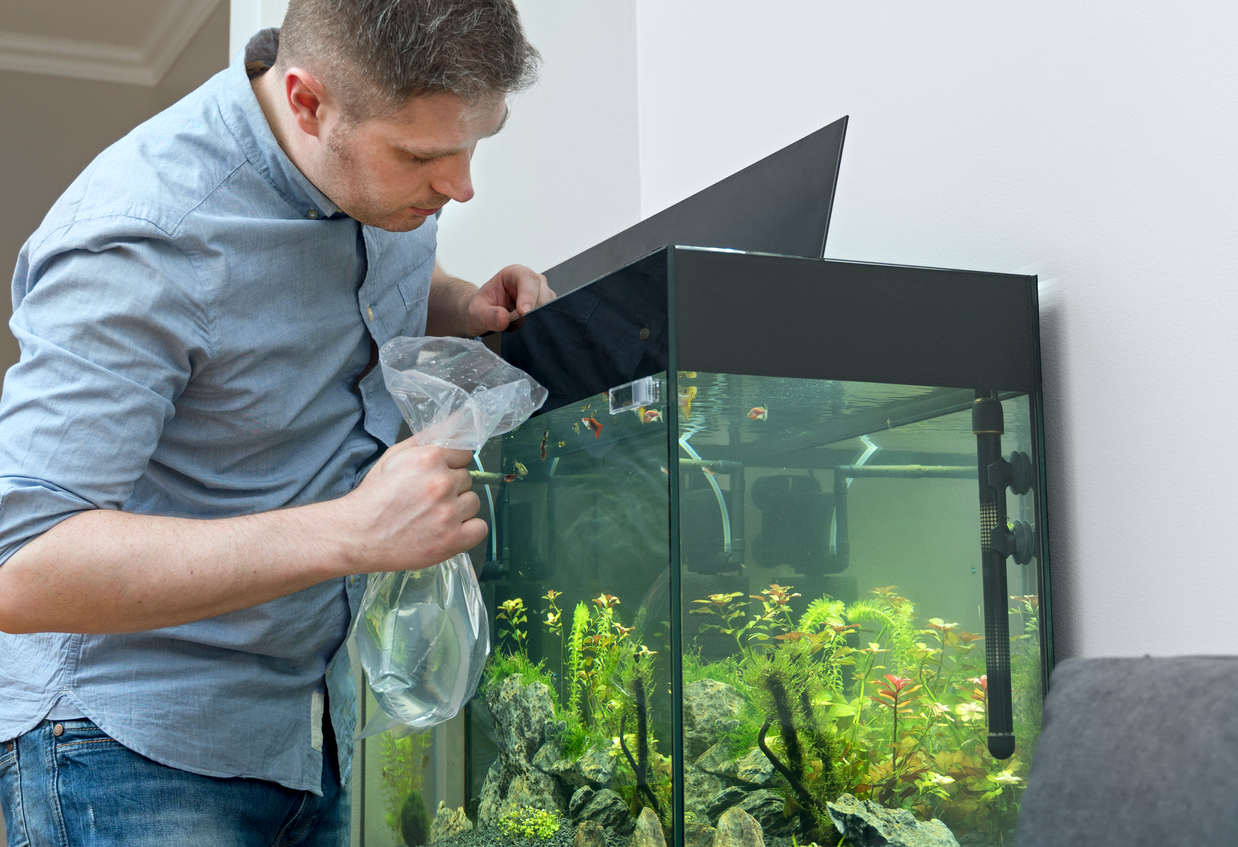
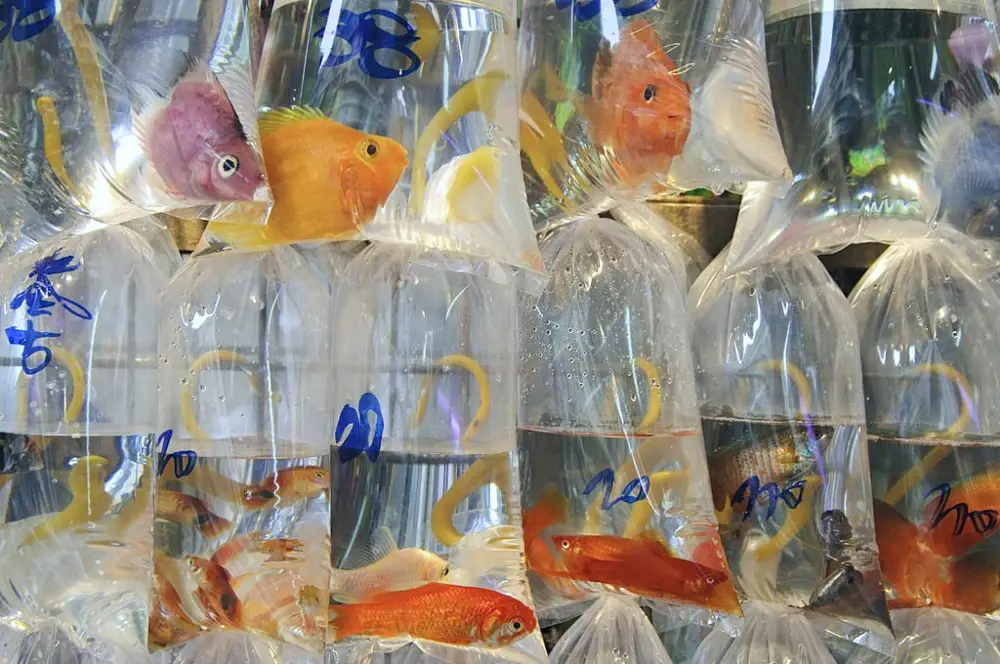
- Five-gallon buckets and plastic bags: Plastic bags can be used to transport little fish to another room or to a house less than an hour away. Larger fish requires the use of five-gallon buckets with covers. Separate buckets should be used for live plants, which should likewise be entirely submerged in water during the journey.
- Siphon the hose: This will assist you in getting water from the tank into the five-gallon buckets. You can either use a siphoning tool or a water pump.
- Packing supplies: Tape will be required to secure lids during the relocation. Additional boxes will be required for fish tank equipment, decorations, and the fish tank itself. A label maker is useful. You can also identify each bucket and box with masking tape and a marker.
- Medication: Throughout the process, you’ll need some fish medication like Seachem Prime (for small tanks <100 gallons), Safe (for big tanks >100 gallons), Stability and StressGuard.
Moving Fish and Other Items
Now comes the first practical steps — moving your fish, décor, plants and the aquarium itself.
2. Turn Off and Remove Equipment
Fish can become extremely anxious when they are moved. Plan to transfer the fish tank last and set it up first in your new house in the larger scheme of your move.
First, stop feeding your fish 24 hours before the trip to help keep their shipping containers clean. Once the tank is set up, remember to feed them on time.
Next, take a photo of your present fish tank setup so you can remember where everything is. Then turn off and remove any extra equipment you may have, such as a filter, pump, wavemakers and heaters. Keep filters damp and, if possible, store all equipment in its original container.
3. Siphon Water and Move Fish
Don’t move the fish until you’re ready to move the tank. In any manner you can, try to reduce the amount of time they spend in containers. Keeping the fish in the tank while you remove other items, on the other hand, is a mistake. To reduce stress, remove the fish before disturbing the rest of the aquarium.
You want to create an environment in the moving container that is as near to the tank as feasible before transporting the fish. Fill the fish containers halfway with tank water using a siphon. Additionally, now might be a great time to dose some Seachem StressGuard into their containers before adding the fish.
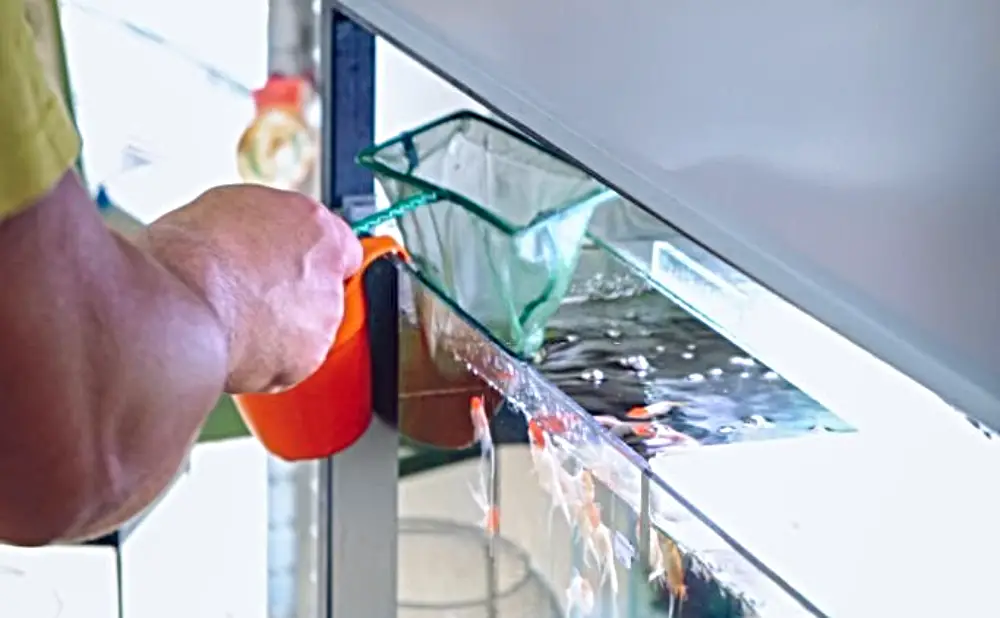
Then, using a fishnet, carefully transfer the fish into the buckets. Fill the remaining containers according to the number of fish in each, leaving plenty of space at the top. Each five-gallon bucket can hold a few tiny fish that get along.
4. Relocate Other Plants and Items
Live plants are the only other items that will require particular care. Use the fishnet to remove any large rocks or ornaments that may be dried and packed separately before relocating these objects. After that, place the plants in their own bucket of fish tank water.
5. Siphon and Save Remaining Water
You’ll want to save as much of the original tank water as possible to simplify the migration. Not sure how to use a siphoning tool? We have a guide on how to use a siphoning tool (for sand and gravel but the mechanics remain the same — like you would with a simple water change). You don’t need to worry too much about replenishing new water once the tank is set up. In a short move, using the bucket or bag water to fill the tank while filling with new water will essentially be a water change. Use the same water changing methods and tools you normally do.
During a long move, you’ll need to do a 100% water change as you wont want to use the transfer water that may have accumulated harmful ammonia during the move. A 100% water change needs to be done with caution to ensure your water parameters match as best as you can to your old tank water. You may need to fill the tank and allow some time for it to stabilize before adding the fish back in. But it can be done!
6. Remove Gravel or Sand
Remove the sand and gravel and give the tank a clean washing and pat-down once you’ve removed all of the water and attachments. Keep this apart from the “dry” stuff and mark everything.
Moving the Aquarium
Now comes the manual labor of actually moving your aquarium to your new home.
7. Pack the Aquarium
Fish tanks are incredibly fragile, and one wrong move might permanently destroy the glass or seams, so continue with caution. First, after emptying the existing tank, carefully clean and dry it. Wrap the lid with bubble wrap and pack it separately.
Fill the remaining tank with packing paper and cut a piece of foam board for the bottom. Wrap the entire tank with bubble wrap and place it in a cardboard box. The original box is preferable, but a box with two inches on each side of the tank will suffice.
Fill the empty space in the box with packing material and seal—label the box with an arrow indicating which side is up. If the tank is too large, cover it in bubble wrap and strap it securely onto the moving vehicle with nothing falling on it.
8. Move the Aquarium
Take your time moving the fish tank because its position within the moving truck is important. If you use professional movers, make sure they understand the shipment contains a fragile fish tank. Carefully lift and lower the tank.
Consider the following additional moving tips:
- When moving, do not put anything on top of the fish tank. Also, avoid placing the fish tank on top of other boxes where it could slide off or spill over.
- Place the fish and plants in a temperature-controlled setting, such as inside your automobile. Do not leave them in the garage or outside for an extended period of time.
- Allow the fish tank to come to room temperature slowly before filling it with water if you relocate on a particularly hot or cold day.
9. Reassemble the Aquarium (ASAP)
Make sure you know where you want to put the fish tank before you start. If possible, plan out this place before moving day by measuring different spots with painter’s tape.
The following are the basic stages for reassembling a fish tank:
- After the tank has reached room temperature, thoroughly inspect it for cracks or chips.
- Unpack all of the attachments first, then begin filling the tank with the basic gravel or sand. Then, without turning it on, place the rocks, attachments, and essential equipment.
- Fill the tank halfway with the prepared fish tank water. After that, add the and plants. Finally, return the fish to the tank using the netting. After removing any waste from the fish and plant containers, use the water from the containers to fill the tank the remainder of the way.
- If in case you do not have any remaining water, you can add tap water to fill the tank. However, it’s important to add either Seachem Prime or Safe (depending on the tank size) and Seachem Stability to promote beneficial bacteria growth.
- Wait an hour or two after the tank has been set up before turning on equipment such as the pump or heater. Many of the particles that were disturbed during setup will not have a chance to settle if the pump is turned on too quickly.
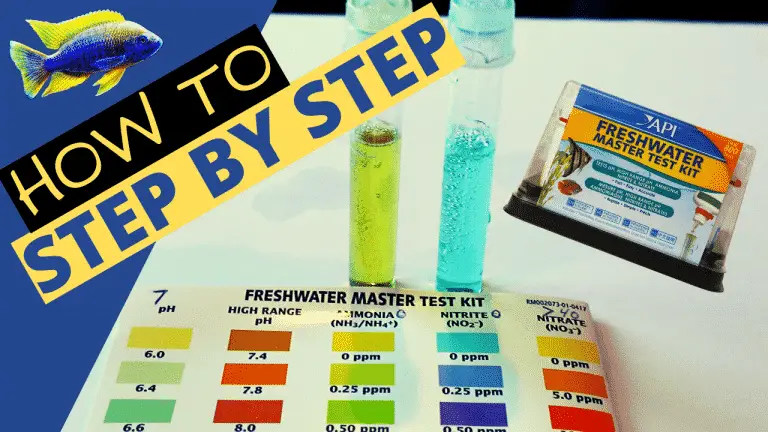
- Keep an eye on your tank for the next week and consistently test your water chemistry and other parameters with a water test kit.
1-on-1 Coaching from KaveMan Aquatics
Following setup, monitor your fish for symptoms of stress and resume feeding. If you are having problems with any of your fish or plants, get guidance from a local fish shop. Best wishes! If you prefer to enjoy the perks of personalized help, KaveMan Aquatics has got your back! We offer 1-on-1 coaching so you can become confident in your fish-keeping journey!

9 Steps To Safely Move an Aquarium to a New Home
Safely move your aquarium to your new home with our comprehensive instructions, ensuring a smooth transition into this exciting new chapter.

